Showing posts with label mosaic tiles. Show all posts

Tuesday, December 9, 2014

Free tutorial! Polymer clay mosaic tiles galore...

Hello fabulous,

For years I used to make polymer clay mosaics.  I don't know if you've heard of Laurie Mika and her fabulous book, Mixed Media Mosaics?  I was smitten and used some of her techniques for making my own boxes and frames.  I have made many, but I got burned out on making them.  They make great gifts!  I took photos of the process, but I struggled to get good pictures.  I will post them anyway since the mirror I worked on is done.


I didn't get pictures from the tile making process, but you knead a block of polymer clay and roll it flat like cookie dough with a rolling pin.  The slab should be about 1/8" thick.  I then use rubber stamps, old buttons, charms, and found objects that make good indentations.  I cut out the tile with a polymer clay blade.  I put the tiles on a baking pan and put a same-size pan on top, bottom up, like a lid.  I secure the pans together with binder clips and bake in the oven per manufacturer's instructions.  Carry the pans outside, release one of the clips and slide top pan open to release fumes.  I like to use Sculpey III, but I'm sure Fimo and other brands are good too.  I tried self-drying clay for a batch and it was very difficult to work with.  You can use any color clay since you're going to paint over the tiles, but black will make the tiles darker. 


Here is a close up of the jewelry charms I baked into the clay.  They add bling!  These are the tiles after one coat of paint where I usually fill in all the indentations and wipe off the rest.  Looks messy at this stage....


This is a mirror frame.  I took out the glass part and painted the frame front and back with black craft paint.  It seals the wood and also adds "tooth" to the surface, which makes it easy to adhere the tiles.  Attach a sawtooth hanger on the back before adding the tiles.  There are sometimes holes for hanging, but it's difficult to use those and get the mirror straight on the wall.  (At least I find it so..lol.)


Same two pictures in different light.  This is the second coat of paint.  I usually smear it on with my fingers.  I try to vary the colors to get more tiles to choose from for my project.


Third coat of paint, which is embossing powder in different colors that I also smear on with my fingers.  I use Perfect Pearls.  See how it all came together?  Now the tiles don't look messy at all, but handmade for sure.  Embossing powder smooths everything out and adds a nice highlight to any ridges.  Where there is white shining through from the tile, I usually go over it with a paint pen or a fine brush, or fill in larger areas, like the purple star and sun with more of the same paint.


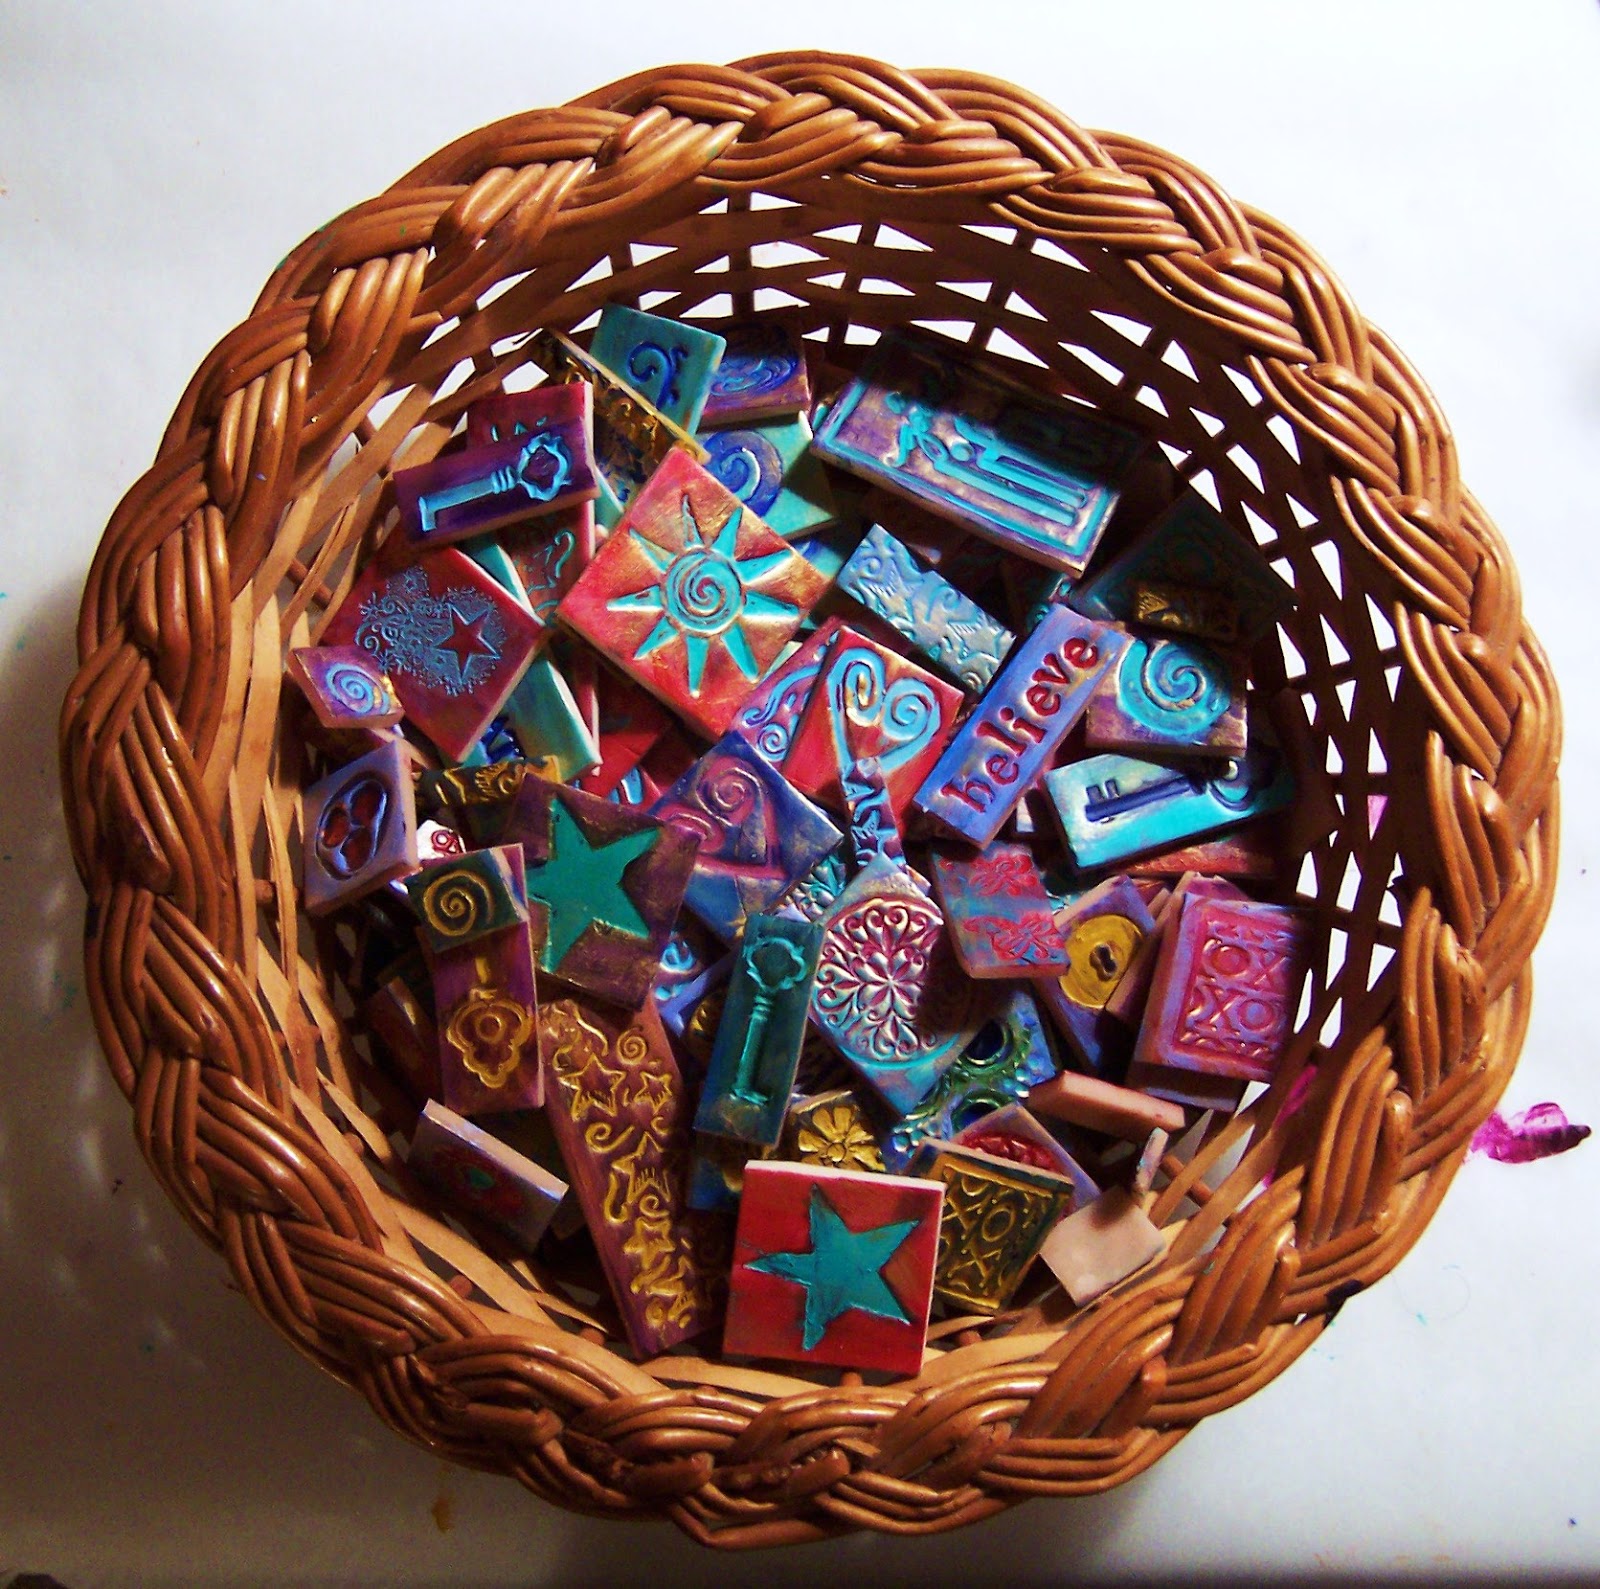
A basket of yummy tiles!  Now my mirror frame is dry too and I sand the edges.  Then it's time to match up the tiles for the design. This is the fun part...  It can be painstaking, but I have never done a project that didn't come together just perfectly. :)


When the design is done, I put the tiles in order on the table and spread LOTS of glue on one area at a time.  I use Aleene's craft glue, which works great, but Weldbond is also a good brand of glue for mosaic tiles.  For the wings and heart on the center piece, I used E6000 jewelry glue, which is heavy duty.  I really like my pieces to be solid.  Where there are small gaps between the tiles, I pour in a string of seed beads.  It adds bling and gives the piece a finished look.


Finished!  I painted the edges with good black acrylic paint.  I also like to paint the back one more time to make it really look good.  I sign it on the back.

Are you willing to try one of these?  It's not hard, but it looks hard. :)  What are you working on now?
I have a sale going on in my etsy shop, 20% on everything until 12/31/14.  Check it out.. http://etsy.com/shop/greeneearthoriginals
xoxo
Maria

Sunday, July 6, 2014

Revisited my past...

I used to make these polymer clay tile embellished boxes all the time a couple of years ago and sold them in local shops.  Then I got burned out on the projects and put the clay aside.  The other day I was going through my art stash and saw all the tiles left over, so I decided to make another box.  It was fun!  Meditative and no pressure whatsoever.  It's like putting together a puzzle with the tiles, and then I paint the box.  Check it out!  I might get the mosaic "bug" back, but right now I'm into art journaling and painting, but the progress is too slow in my opinion.  I rearranged my studio and that felt really good.  If only I could get all the bits of paper and other detritus into some semblance of order....
This box encourages you to dream and believe that all is possible as long as the will is there.  It is available in my etsy shop.


Saturday, October 26, 2013

Busy week...

I had a very busy creative week and it feels great!  Didn't make anything very different from what I usually make in crafts, but it feels good to be productive. These items can be purchased at Serenity Now in Palm Harbor.  I took just one picture of the lot.


Have a creative week, folks!  

Friday, March 9, 2012

Follow your heart...

You know how important that is for general wellbeing.  Art does that to me, and creating art even more.  When I'm in the midst of a project I'm really happy despite the challenges that arrive as the project progresses.  Stretching and growing as an artist can be uncomfortable, but what new birth isn't??  Here are some more pictures of recent polymer clay creations.  Not very challenging but fun!


Someone or something to celebrate...


Peace is good! 

So.... PEACE today to all of you, and lots of joy!!

Sunday, February 26, 2012

A new creative day...

Well, several days that is.  Polymer clay tiles are time-consuming and the process pretty painstaking: Roll out the clay, stamp, cut into tiles, bake, and then paint about three layers.

When I moved I thought I had most of my polymer clay paraphernalia packed in one or two boxes that would be easy to access.  Not so... surprise, surprise... I have yet to find some key things, but at least I could stamp, bake, and paint some tiles for picture frames.  They are just not going to have Scrabble pieces on them--this time.
As soon as I moved my laptop and printer to another desk, my creativity came flooding back.  I don't think computer vibes are good for visual creativity unless you're doing digital art and things like that.  I had my work table back, and out came decorative paper, glue, and some newly purchased wrapped canvases for collages.  No pictures of those yet, but I have three in the process now.

I got stuck on this one portrait/collage and decided to make some mosaic tiles instead.  That's a creative endeavor that always just flows.  So, here's the first picture frame of four, and the basket of newly painted tiles.  I took one picture with a flash so that you can see the hint of gold in the light and another picture without a flash.  It's so inspiring to root around the tiles to find just the right combination.  Even the most unassuming and ugly tile has its place.  I have thrown out a few, very few, and those that are "grayish" and hopeless, I usually repaint and give a new life.  It always amazes me how the tiles always find the perfect home on a frame or box.  They know where they need to go.  On this particular frame I used a tile that I painted three years ago...  Never could find a home for it until today. :)


I think that maybe my creative dry spell is over!  Yay.  

Friday, August 21, 2009

Polymer clay mosaic tiles...


Got busy last week and created some more polymer clay mosaic tiles for my mirrors and boxes. It's quite a time consuming enterprise, but it's always satisfying to see the finished product, and the possibilites it presents. This time I went with the shades of blue and turquoise. I will take a picture of the mirror that I made with them. You know how it is, the artwork in one place, the camera in another. I used clay of different colors, but in the end, they all blend in. I find it the easiest to use white clay, unless I want a deep, dark finish. Then I use black clay. Usually, there are three layers of acrylic paint and embossing powder on the tiles.


Happy creating!!


xoxo


Maria