Showing posts with label freebie. Show all posts

Tuesday, April 21, 2015

Freebie for you!

Hi gorgeous reader,
I have met many aspiring artists who are at a loss how to get started painting.  They may have overcome the "I don't know how to draw" or the "I have no talent" excuses and gathered some art supplies and are ready to go, but they are afraid to start.  I call it the "white page syndrome."  Not that I invented that, but I can relate.  Many a time I have stared at a blank page in my journal or a canvas without any idea what to put there.  Color is always good of course, but shapes can lead to new experiences, and nothing has to be perfect.  So many are waaay too critical of their efforts.  Just remember that most artists started from scratch, literally.
I like to meditate, and it has been a habit of mine for many years.  I decided to give away a simple 10 minute audio art meditation with this newsletter sign up.  I would love to hear what you thought of the audio!  Was it helpful?  Did it inspire you to get into the paints?  You can leave a comment here or on my FB page, HERE.
To sign up for my newsletter and receive the freebie audio, click HERE.

If you already are on my mailing list, comment below and I will send you the audio via email.

Thank you for stopping by!  Happy art-ing. :)
Maria

Monday, October 20, 2014

Manila folder journal tutorial and giveaway!

Hello lovelies,

I have been on a tear making art journals lately.  Funny how things go in waves isn't it?  Anyway, I made a manila folder journal this weekend and I'm raffling it off to one lucky winner.  I had so much fun!  The pictures are not the greatest, but I had only artificial light when I took them.  I wanted to show the step by step process.

Speaking of cameras, I was talking to a geeky friend the other day about buying a new camera and what kind I should buy to get better a resolution for my online prints.  I don't like it when only small prints are available.  Anyhoo, he gave me the low-down and I realized it would cost me about $200 to get a decent enough camera to capture my art work.

Then I went to lunch yesterday with a dear friend and she handed me a bag with a black pouch inside.  What is this? I asked.  She said, open it, which I did.  Inside was a Nikon camera!!!  It will fit the ticket perfectly.  She was gifting it to me since she just got a new camera herself.  I had no mentioned that I was looking for a new camera.  Talk about manifesting.  I have been working on the law of attraction a lot lately. 

Now for the tutorial...

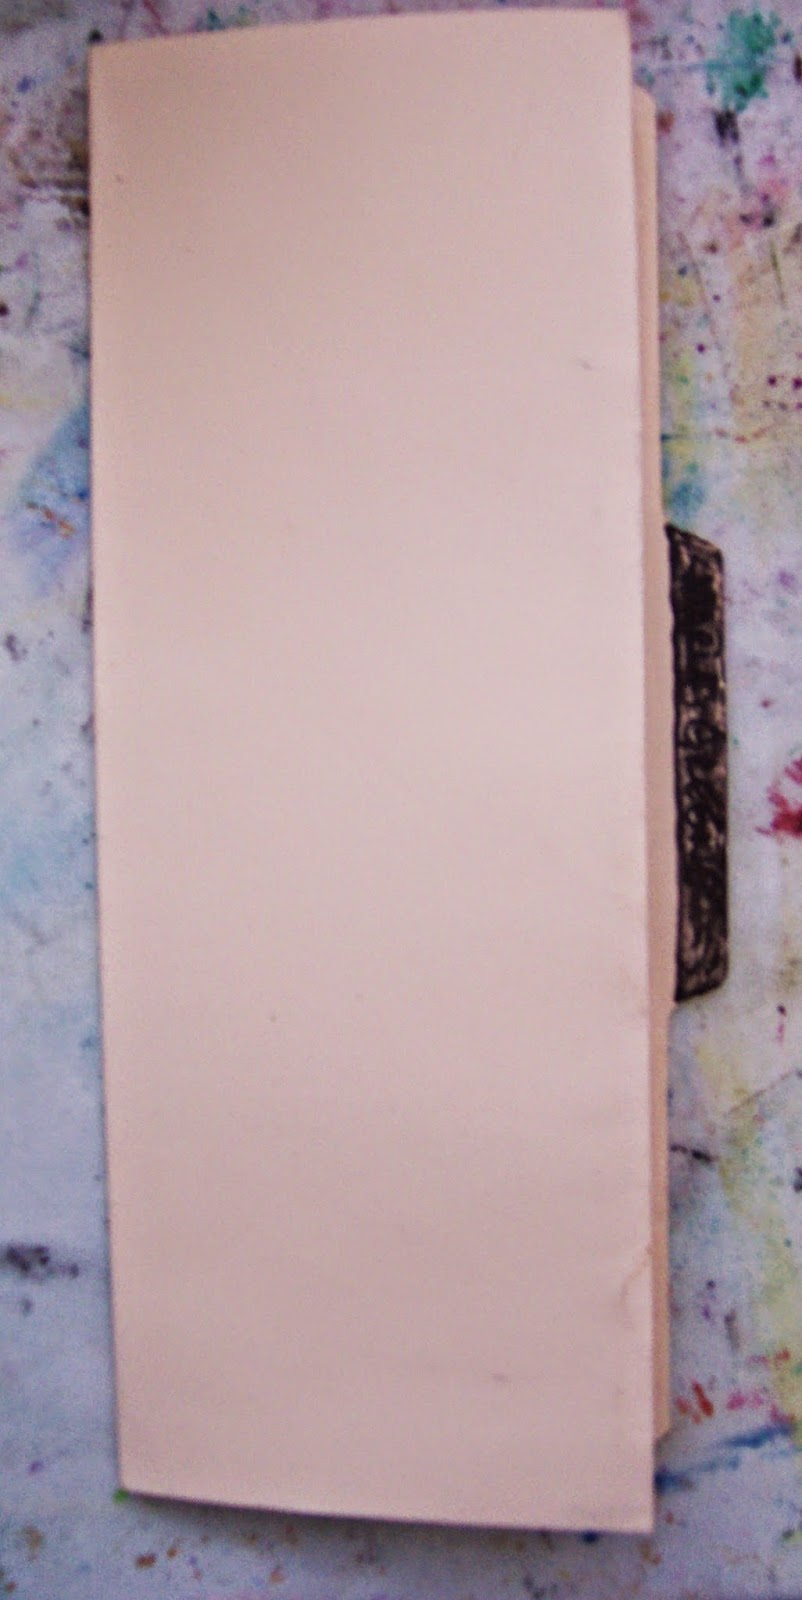
I started with a used manila folder and blacked out the text on the tab.  I used a liberal amount of Mod-Podge to glue the folder together, being careful that the edges stuck well.  I still ended up with some air bubbles once it dried.  Grrr.  


I used a strip of washi tape over the uneven edges and glued down some white cardboard to reinforce the tab.  I made sure to lay down a strip of glue to hold down the washi tape forever, lol.


I used a bone folder to really press down the fold hard once the Mod-Podge had dried.  This was before the washi tape obviously...


I cut the white cardboard to the shape of the tab and now had a very sturdy tab.


I now laid the folder flat on my table and spread out a layer of paint...


I spread some paint on the back of the folder.  I like the shabby uneven look.


I used several layers of paint, mostly spread with an old gift card.  Both sides are similar, just a slight difference in the colors.


I painted the tab purple and wrote the words "Good Dreams" on it.  I stamped the front cover with the word Imagine, and there is plenty of space for embellishment.  The back cover has only paint on it, so you can fix it up the way you like it.


I cut out some paper stars to cover the air bubbles (grrr...) on the inside cover and stamped some inspirational words.


I used card stock paper for the signature.  There are 24 empty pages to embellish when all is said and done. They are a bit narrow, but that's the shape of the folder. Card stock is not as durable as watercolor paper, but you can certainly use wet medium and paints on it.


I tried to get a picture of the various paper colors, but it is not so good.  There are two sheets of green, two yellow, and two manila colored.  I thought it was fun to add varied colors.


The inside front cover adjoins a green paper...


And another close up of the back inside cover.  The picture is pinkish, and I blame my camera for that (my old camera..lol.)

So, enter to win!  By entering you agree to receive my newsletter, which is filled with great stuff. :)  If you don't want to enter the raffle, you can subscribe in the window at the top right hand column. Good luck!

THE RAFFLE HAS ENDED, AND THE LUCKY WINNER IS SUSAN PETERSON.


Monday, October 13, 2014

A new free mixed media tutorial for you!

YAY!
Everyone likes a freebie, right?  I thought I'd go over this mixed media piece, since it' was somewhat of a challenge for me.  I had a lot of fun making it. :)  It's a stretched canvas, 12x12".  I started by spilling paint and dribbling and spreading.  I don't have a picture of that part.  It's just to cover the dreaded white space quickly.

I then tried to see some possibilities in the forms that came up, but nothing really struck me.  I painted in a face outline and some flowers.  Looked like crap, so I decided to cover the mess with some pages from a paperback book I once wrote.  Then I spread some thin paint over those to make them blend in better.  I now had a background I could work with, and I kept thinking what now?  I had an old journal page with a face that I liked.  I was not about to cut up my journal though, so I made a regular photocopy on printer paper.  It came out really pale...  We're going to pick up the canvas with some pictures now, but I took a photo of the journal page so that you could see the original:


I used colored pencils on this drawing.  I was trying to learn shading by going over the page lightly with various colors.  I was happy with the result. 
 Then I decided to cut up and glue the photocopy to the canvas. Scary, and I was a bit worried about the paper wrinkling with the Mod-Podge that I spread liberally on the back, To my surprise, it didn't wrinkle, but I got some patches from the glue, so when I spread paint on the face, pale spots showed up.


You can see here how pale the face is to start.  I brought out my Prismacolors and shaded the face some, and then I blended it with the background colors with paints and a baby wipe.  I like to have uniform colors pretty much.


Above you can see the odd spots that I covered with green and yellow just to get rid of them.  I gently added a tiny bit of paint to the eyes, and painted on the hair. Nothing fancy...  I saw some greenery that could stay on the right hand side and outlined them in white.  She was going to read a book, so I painted some yellow book covers at the bottom.


Can't say I liked the "blemishes" on her face, so I blended and smoothed that with some white paint when the green paint had dried.


I outlined the book and stamped on the letters with Staz-on ink.  The bird is decorative paper, which I painted with light blue paint.  The legs are painted on.  I painted a faint outline to the girl's eyes.  I didn't want them to stand out more than the rest, but they looked kind of pale.


I added on more lettering by tearing out paperback pages and stamping them with words.  Reading gave her ideas for her own stories.  And to break up the space in front of the bird, I cut out a piece of paper for bunting and painted that to match.

I enjoyed using the photocopy for the face.  I made sure it was very well glued down, with NO air pockets.  I don't know how well it will hold up in the long run, but I plan to varnish the whole thing with acrylic varnish.  I also found it interesting that the face ended up so different than the original even though they are identical.

Since I'm both an artist and a writer, I'm often torn between the two.  Should I be writing more, or do more art?  It's not easy to have several interests.  I just take it day by day.  I will soon have a new fantasy story out on Amazon, the sequel to Trials of Hallion, Two of Swords.  I actually painted the book cover for it.  When it's complete with graphics, which an artist friend of mine will create, I will put up a picture.  Writing is more of a chore.  Once you start a manuscript you can't just write randomly.  You have to follow a schedule every day to get anywhere.  Writing a book is a massive effort!

With mixed media art or painting, I can flow more, and I like that.  And I like lots of color!  :)
If you would like more tutorials and other news from me, please sign up for my newsletter!  Top right column.  Thank you. 

Friday, July 18, 2014

Working on a freebie mixed media ebook...

I get so involved in the art making that I keep forgetting to take pictures of the process.  To make an ebook, you have to take loads of pictures.  I'm really happy with the outcome of the art piece in question.  Staying true to creating intuitively I had some funny things come up on the canvas that could not stay.  At one point I saw a face and I had to outline it.  Came out looking like a cross between the Jester and Michael Jackson.  I had used some alcohol inks and you can't really get rid of the splotches on his forehead and eye.  They bleed through everything, so I had to glue more paper over the ink to make sure they would be covered up.  Here is a teaser!


You see what I mean?  He ended up with sunglasses to cover up the creepy eyes. Lol...he will languish under all the other layers and maybe add a vibe or two to the finished piece.  Having lots of fun with this project!  What are you working on?